If you've ever heard about Floral Design, I'm sure you've heard about the Wedding Planning Project that many Agriculture Science Teachers have their students complete at some point during the course of the year. Not only is it a great independent project, but it is a fantastic way for students to showcase their full knowledge of all floral design principles, practice pricing, and have a little fun while doing it!
The first time I saw someone do a version of the wedding planning project, students would cut out photos from various magazines to piece together their vision. Thank goodness schools and technology have come a long way since then, so my classroom doesn't have to look like a giant scrapbooking party during this project. However, with the use of technology there are still some pitfalls. I'm here to walk you through how I use my Wedding Planning Project in my classroom to give you a guide if you want to use it too!
Before I even begin using my actual project, I have my students look into different wedding traditions to get an idea of what different cultures do for their weddings and help them gather ideas that they might want to utilize during their planning process. If you would like to look at that project you can see it here. Once students have completed and presented these projects, I explain the wedding project at the end of the day after students have completed the presentations so they can go home and think about what they might want to do for their weddings. Think #PinterestTime
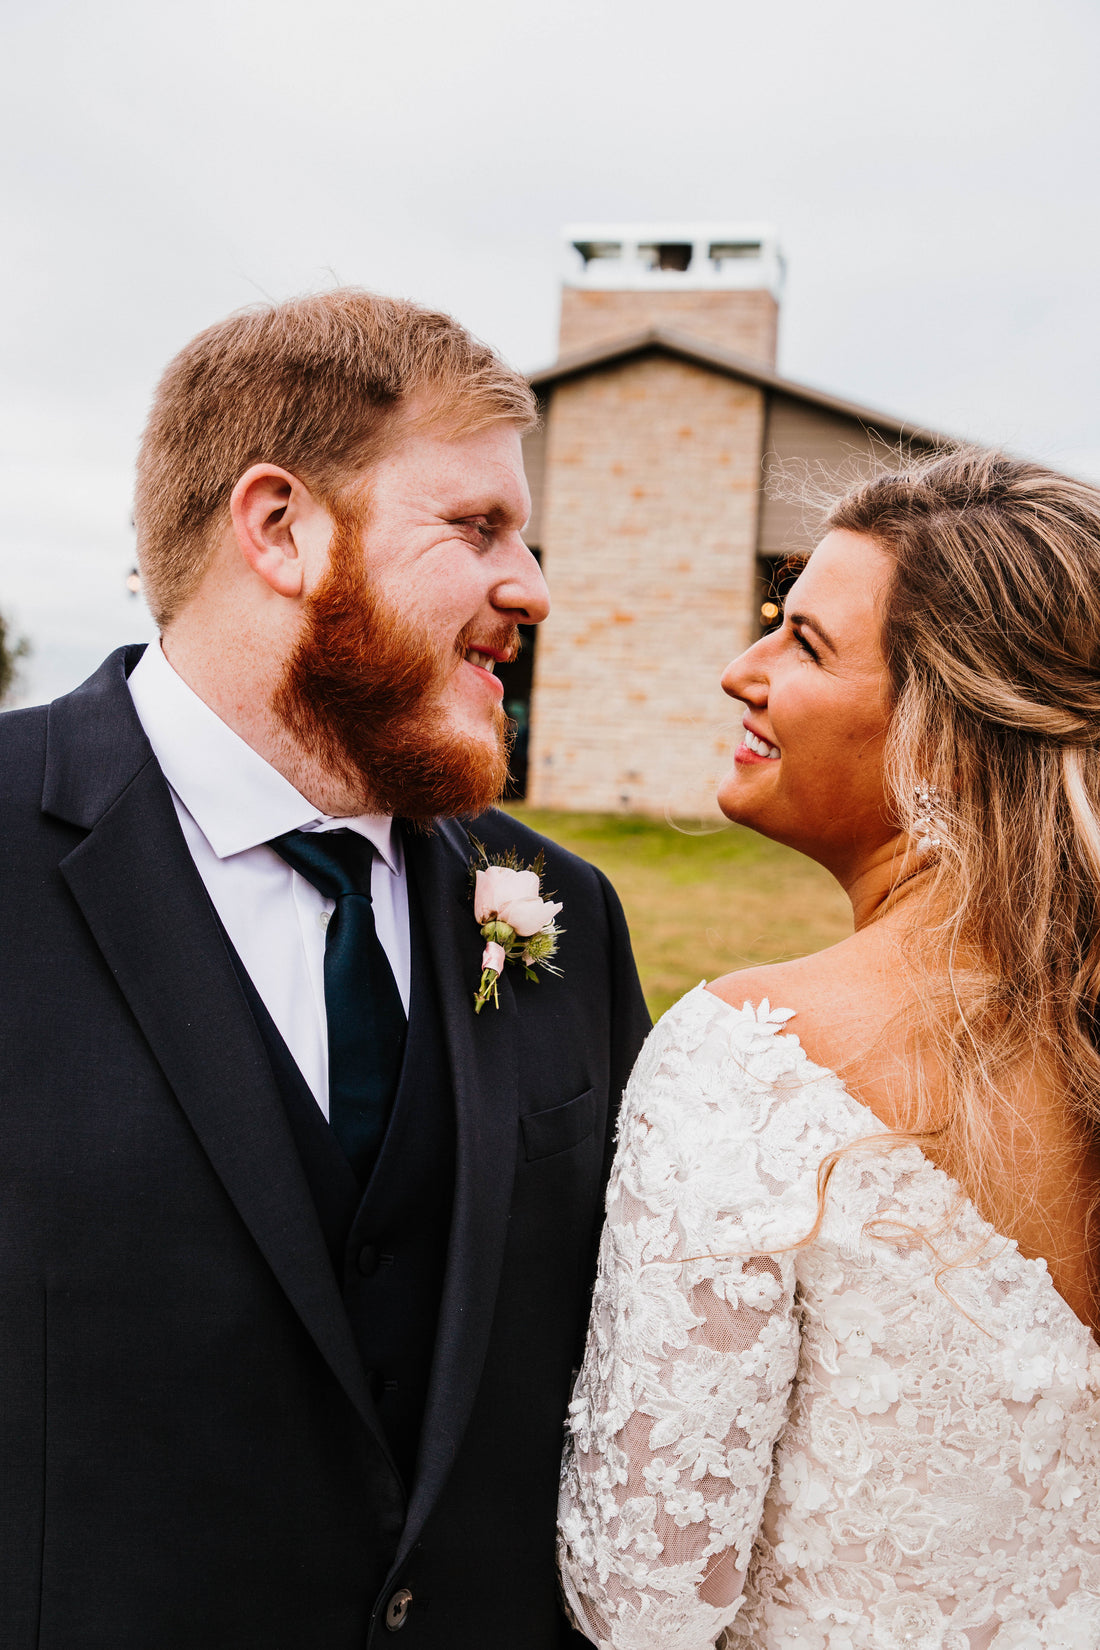
When I go about explaining this project I preface it with the fact that weddings are one of the biggest money makers for florists, so if students are interested in actually becoming florists in the future or working in the floral industry in any capacity, weddings will mean something to them. I provide students with the instructions page of the project for them to glue in their composition notebook and we go over all of the due dates for the project so they are aware of all dates as we move through the unit. After going over dates and expectations for students to turn in their work, I go over each project that is within the overarching wedding project, using my own wedding and wedding photos as an example for the students.
Pre-Project
I share with my students how once we got engaged the first step was going over the budget with my family and trying to figure out what we could and could not afford. As someone who never daydreamed about their "dream wedding" I didn't have a lot of expectations when it came to what I wanted for the day which was good, but also meant that things snuck up on us in the budget. With this in mind it is best to assign some miscellaneous funds for each category just in case, because you never know what will come up.
During this time I also share with my students that the spreadsheet that we will be using will self-calculate so long as they fill it in the way I show them so they don't have to do math but they do have to stick to their budget!
Project 1
Explaining that each "project" will be its own google slide set, I also go through my own wedding photos/plan to show students what I want to see. For the bride and groom students are allowed to pick any two people, if they would like to do two brides or two grooms that is fine, they will still have to pick a suit and dress for pricing purposes. The wedding party is explained as well as duties of the wedding party and photos of what those roles wore at my wedding (if applicable) so students can see what appropriate wardrobe choices might be.
When discussing the color pallet I share what a hex code is for any student that might not know, this is the letter/number sequence for the computer to identify a specific color. I also share the story of my time with my wedding coordinator/florist/college friend as we were discussing our wedding colors. As we'd known each other for a long time by the time Dylan and I sat down to discuss wedding plans that involved linens and florals our designers knew that I would have samples of the exact shades of the colors that I wanted for them to reference, because I'm type-A. If you can share the hex codes with your designer or client then you won't need to pass samples at meetings!
The bride's dress is where students tend to spend a lot of time for this project, just because they love looking at wedding dresses online. I explain that it's important for them to have options for all of the things including their dress. At the end of the day, they have a budget to stick to and if they need to go to the lower priced dress to make sure their budget works they have that option. Similar explanations are used for the bridesmaids dresses as well as groom & groomsmen apparel. During this I share with them some websites to help them find affordable options to meet their needs. Websites like Azazie, Birdy Grey, & JJ's House are great for the bridesmaids options. Groom and groomsmen options are easily found at The Black Tux, Suit Shop, and Generation Tux.
Lastly we go over cakes! I share photos of our cakes and how many people will do a wedding cake and a grooms cake. Additionally, we had the fortune of our bakery closing down due to Covid and having to find a new bakery very last minute, like actually two weeks before our wedding. We talk about some wedding cake traditions like saving the top layer for the one year anniversary and how many couples don't even get to have some of their cake since they're so busy at their weddings.
I'll share more soon about the next parts of the project!