
A few weeks ago I shared how I introduce students to the Wedding Planning Project in Floral Design and the first parts of the assignment. If you missed that introduction, you can go back to THIS blog post to see the details. Moving on to the next parts of the project I will share what I discuss with students when going over Projects 2 & 3 with students.
Project 2
The first part of the second project is to find both a ceremony and reception venue. This part tends to confuse many students as they plan on hosting the wedding that they are planning at the same location as the reception, however we discuss the reasons why people might choose to have their wedding ceremony and reception at two different venues as well as the fact that if they do choose to have the ceremony and reception at the same venue the events will occur in different locations at that venue, more than likely, so it's important for the planning process that they go into detail when planning the details of these events and locations. One of the examples that I use for explaining why someone might choose to have two separate venues is if someone would like to have a church wedding, they will likely need to have a different reception venue as most churches do not have the space to accommodate a reception. With this example they would need to have the prices, rules, and addresses for both locations. Often times people will choose a venue that can accommodate both their ceremony and reception, as my husband and I did. In this case the ceremony and reception tend to take place at the same address so the cost and rules are all the same, however the space could be different. I share photos of our wedding venue to enhance this point for my students as we got married outside under a covered patio but had our reception indoors.
For both the ceremony and reception venues they will need to provide several details that they might not be able to get from the venue's website, which I do inform student of. I recommend to students that they reach out to the venues via email at the beginning of working on the project to get this information if they are set on these locations to ensure they do not miss their project deadline waiting on information from a venue.
The next portion of the project students start to work on the stationary planning, beginning with the program. They are expected to both create the program as well as find the stationary they would like to use for printing and the cost. They will do the same with the Save the Dates that they would like as well as the Invitations that they would send out for their event. I share with my students some of the cost saving, and budget busting, stationary experiences I had when planning my wedding. For example, we never ended up providing a ceremony program to our guests, this was a cost I didn't feel was worth the money so I cut it. I mean when your ceremony takes less than 30 minutes from start to finish, why waste the money? When I ordered Save the Dates I ordered enough for every person... not every household they were being sent to. This resulted in me ordering almost double the amount that I needed aka spending almost double. I did make up for this mistake by hand making my invitations. I do not recommend this ever. Assembling the bundles is one thing, but trying to hand make the entire thing, even using the helpful templates from Hobby Lobby that I got on sale was still so much work and I wished that I had just spent the extra money to save my sanity. Things other people have shared with me over the years include, additional postage being required for odd shaped save the dates or heavy invitations (thank you cute wax seal) which has to be accounted for.
Most modern weddings do not provide individual menus to each guest, so I do not require student to find stationary for the menu, however they do have to have some way they would like for their menu items to be displayed. If they choose to provide each guest with their own menu with stationary they can do so and account for that in the budget, but it is not required. Once they have determined how they will display their menu they must plan their menu, including pricing. This is vital to ensure their meal can fit in their budget! It seems pretty obvious, but I do point out to students that a plated/served dinner will cost more than a buffet style meal. When we were getting married our catering quotes ranged from $12 per person to $17 per person for a buffet style meal but what all is included from the caterer is different between each vendor and that is important to point out to your students as well. I did make our menu DIY both for the buffet as well as the bar out of wood and vinyl using my Cricut to help cut costs, DIYing decor like this is something that I recommend to students over DIYing their invites.
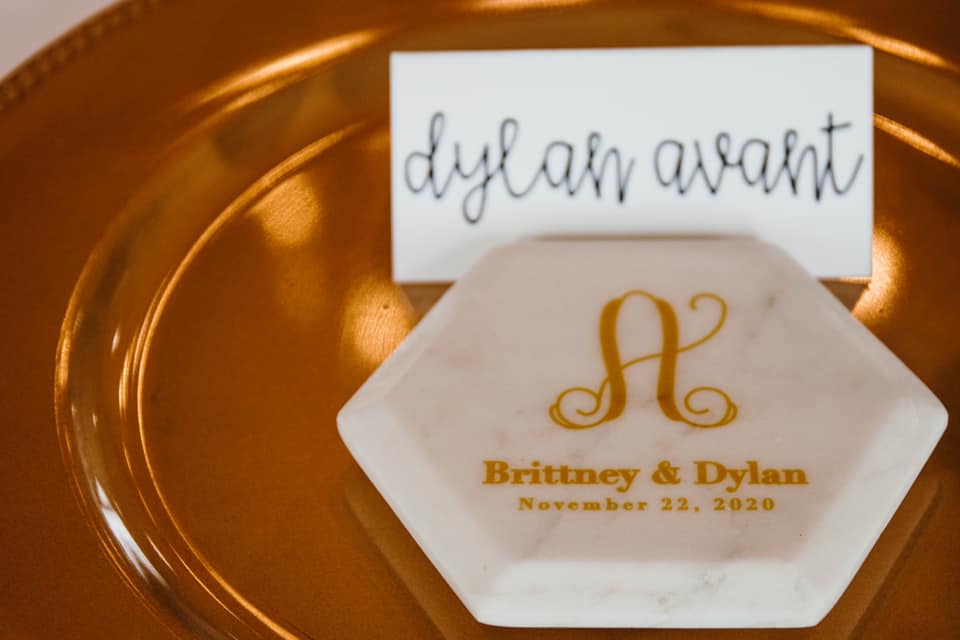
Lastly is place cards, I only require them to have place cards for the wedding party at a minimum, but if they would like to have a seating chart or place cards for the rest of their guests in some capacity this is where they would plan for that and configure that in the budget. For our wedding this was something that I made myself to save money, once again using my Cricut. I did only make these for the wedding party, but by making them myself for such a small group the cost was minimal compared to purchasing them!
Project 3
Project 3 is when students Floral Design knowledge really starts to come into play. For this, they will be planning out the layout including where the floral arrangements will go for their wedding and reception. While this seems like the simplest step, once students start to put all the things that they want at their wedding in their wedding venue they realize just how hard it is to make everything fit as well as where they need to place floral pieces to fill the space in.
Within the resource I do share an additional resource that can help them plan their layout digitally, or they can plan it on paper if they prefer. For this I do provide students both blank copy paper as well as grid style paper so they can choose between the three options.
Having a well thought out and planned floor plan is vital to a relaxed wedding day. With this, you can hand it over to others and have them do all of the setting up and you as the bride can relax, or you as the wedding planner/florist can ensure that you are meeting your client's expectations. Either way, floor plans are a must.
I'll share more soon about the next parts of the project!